Hope you like it :)
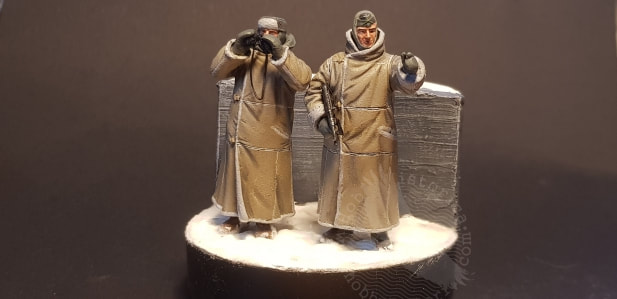
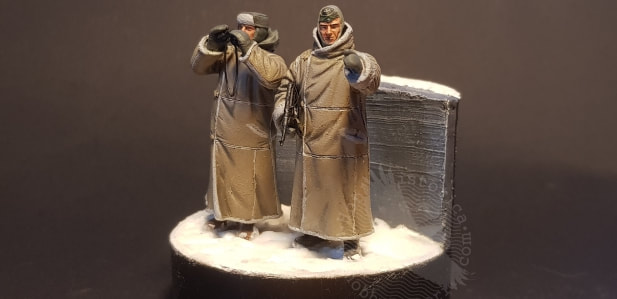
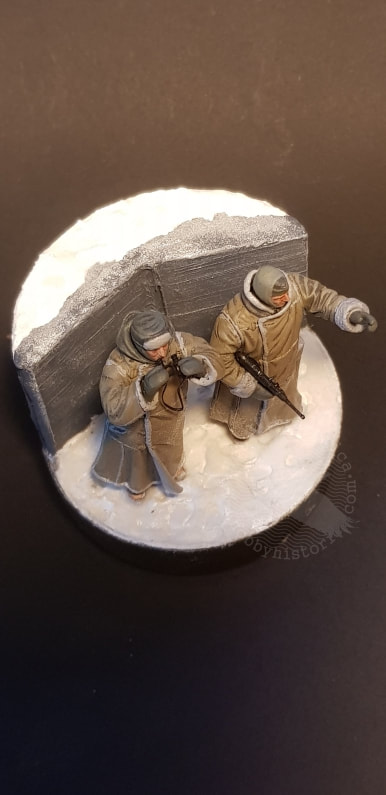
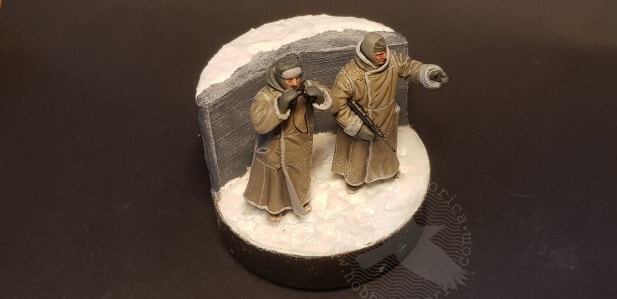
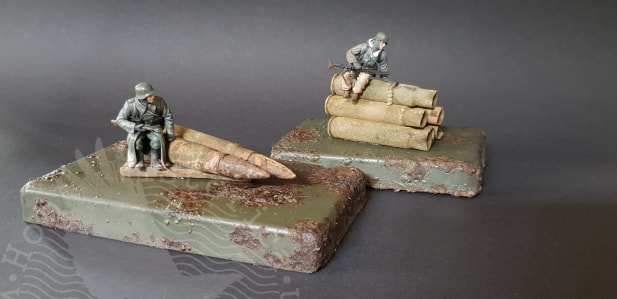
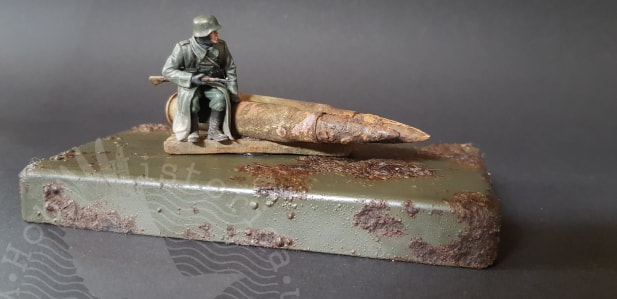
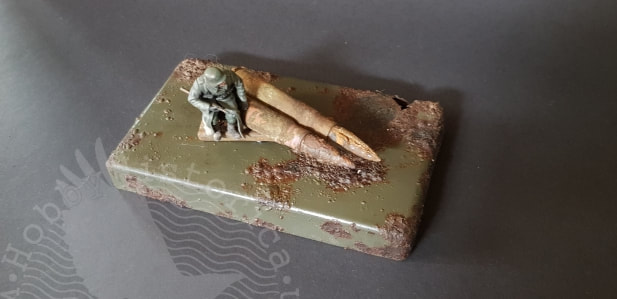
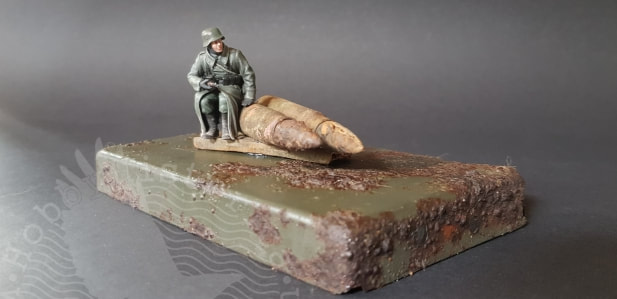
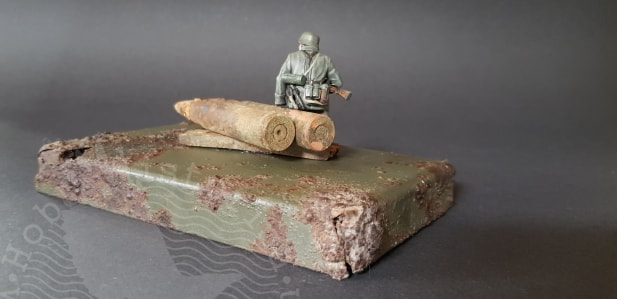
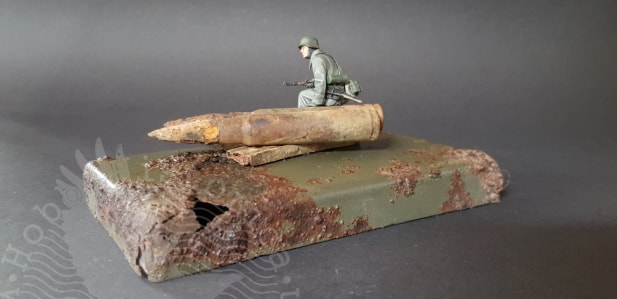
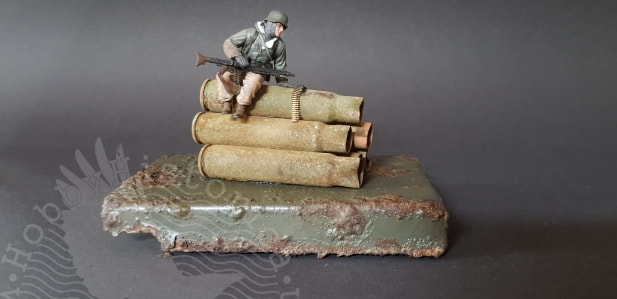
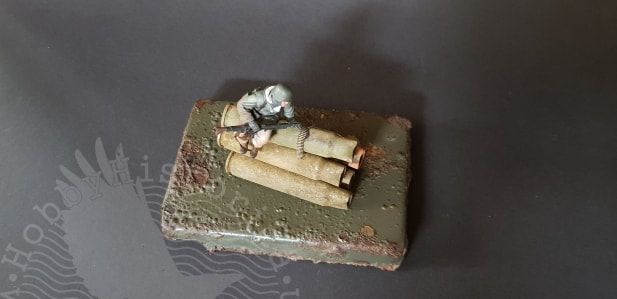
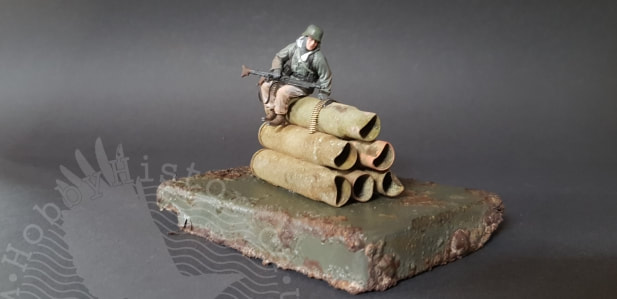
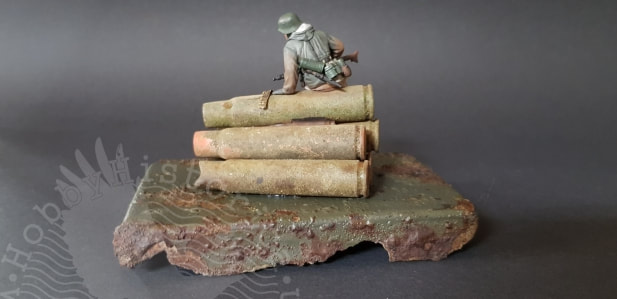
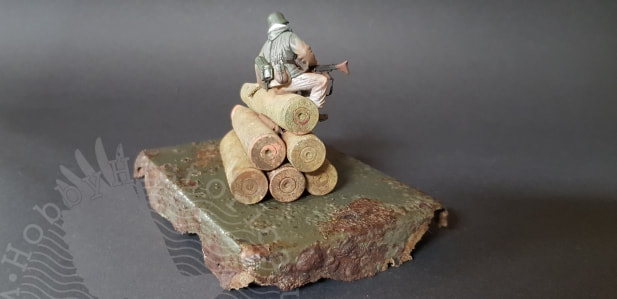
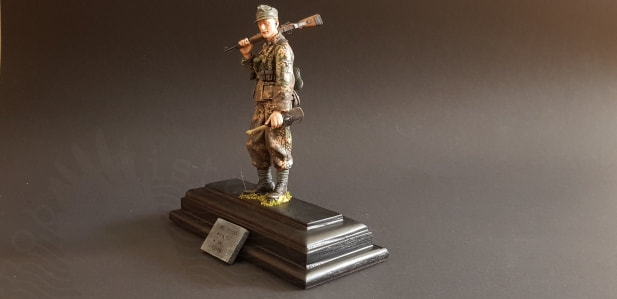
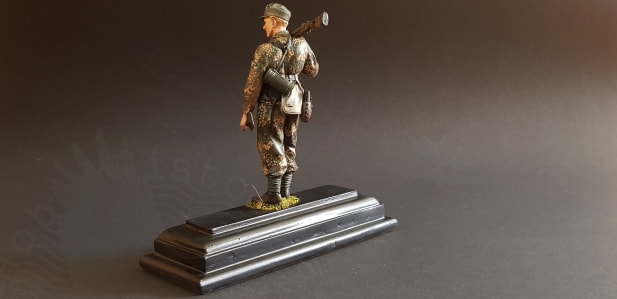
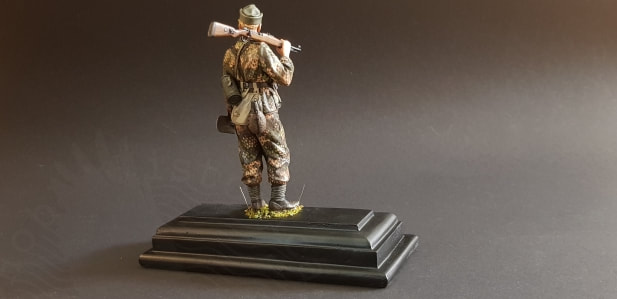
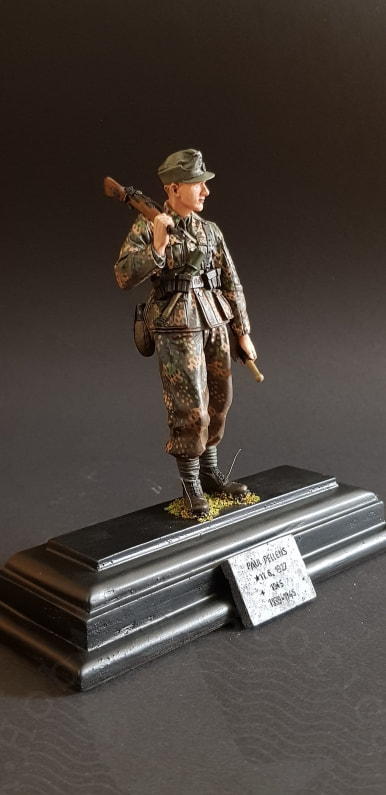
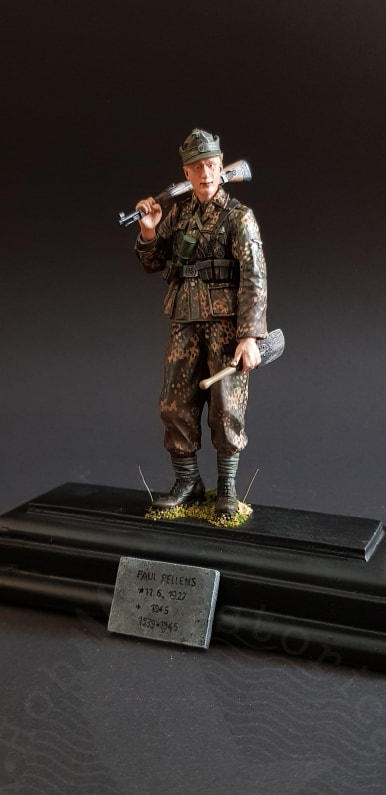
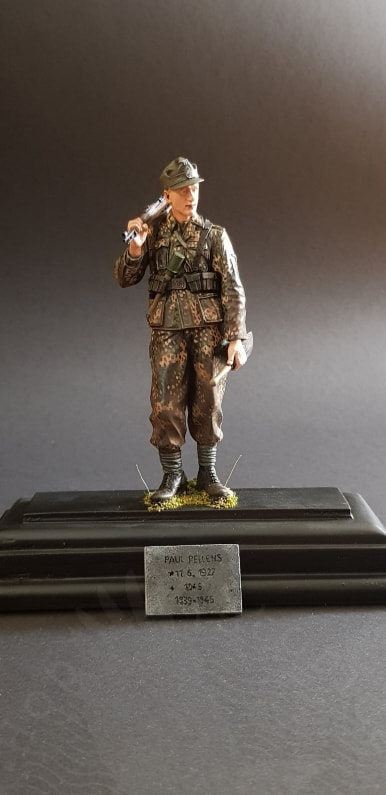
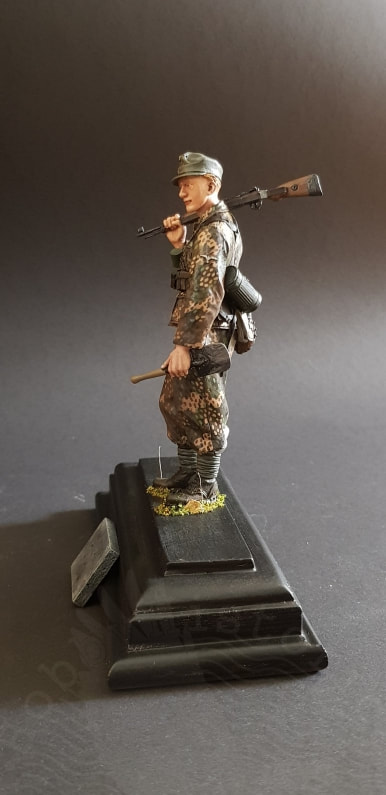
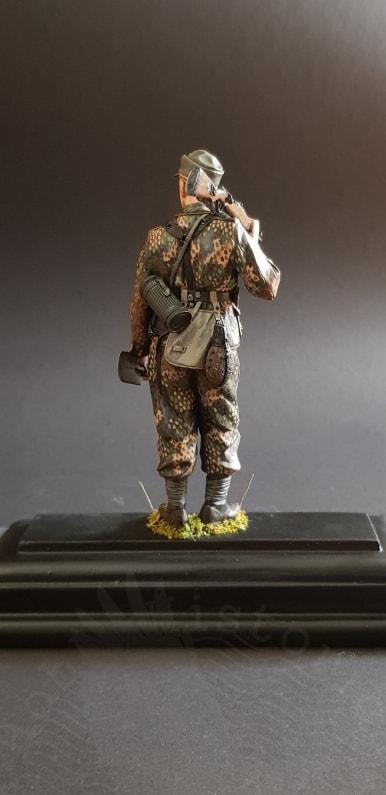
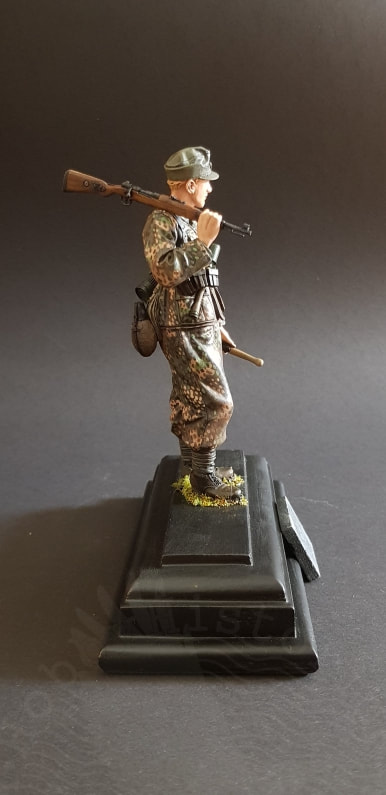
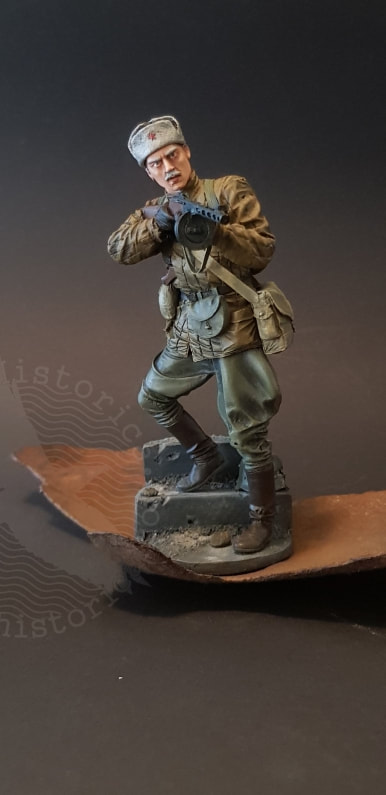
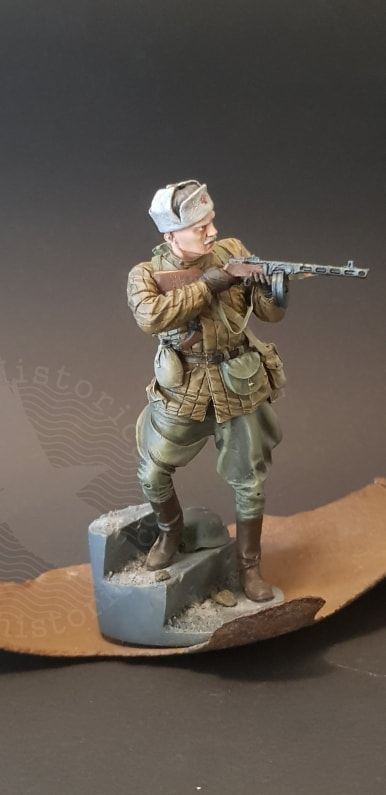
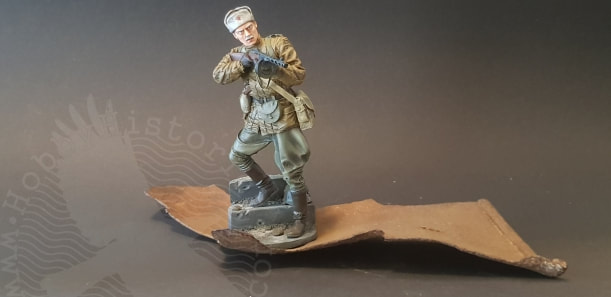
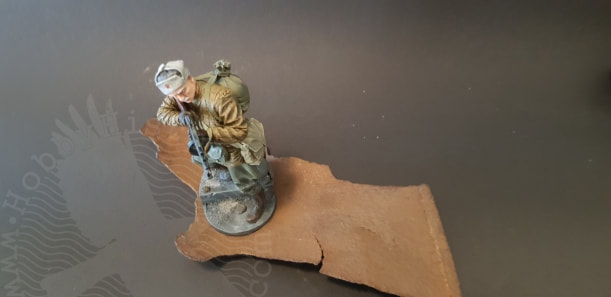
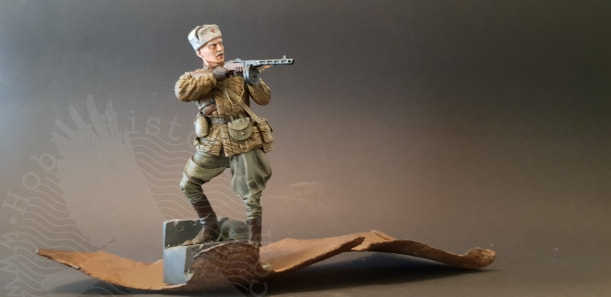
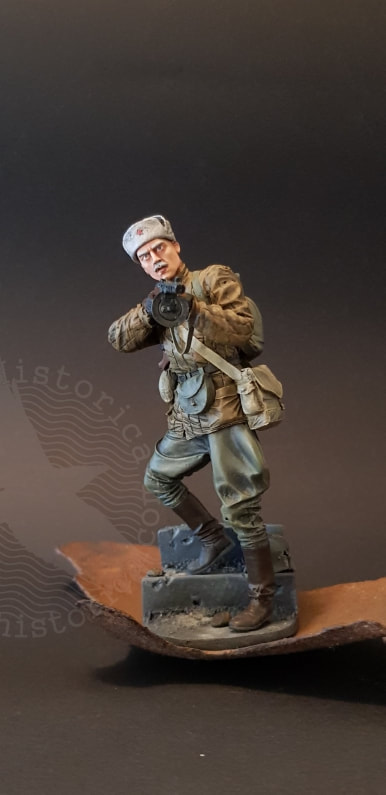
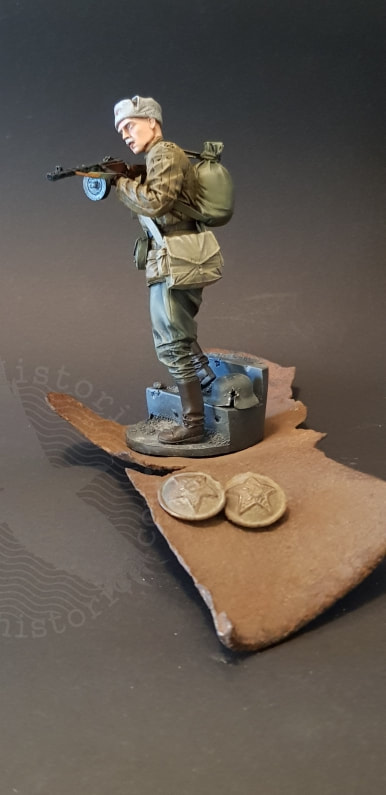
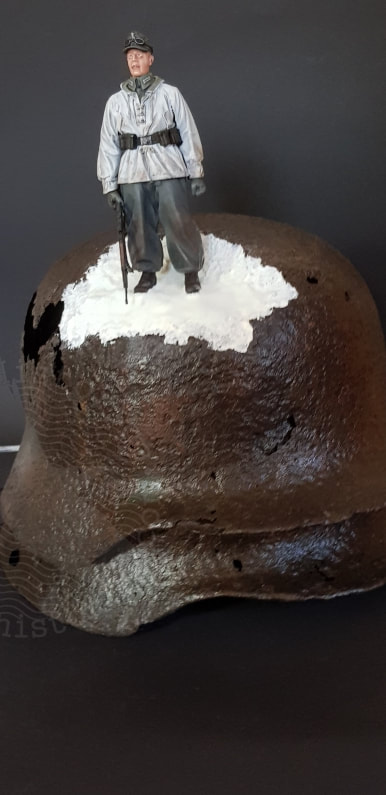
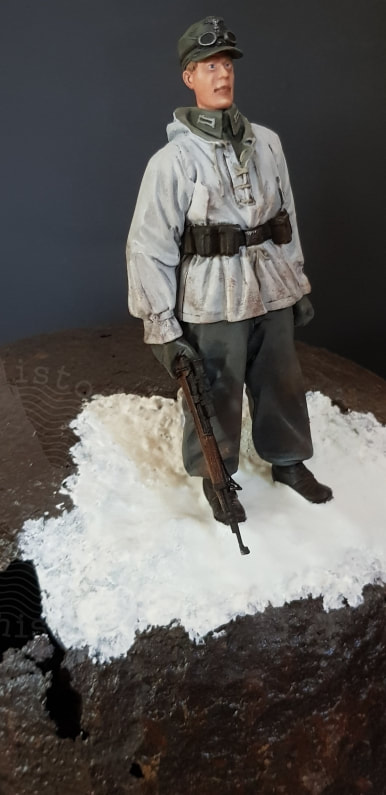
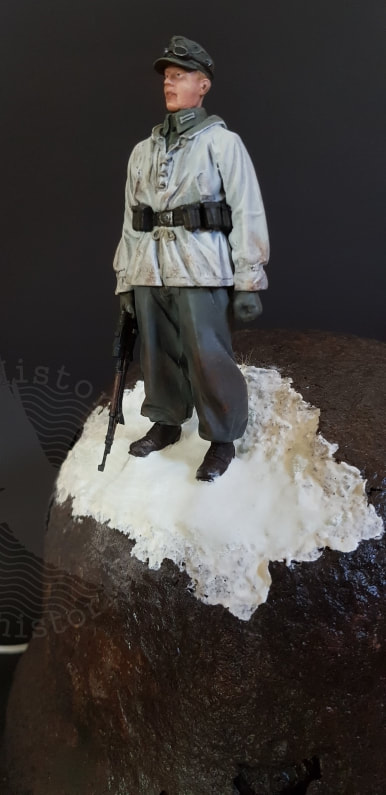
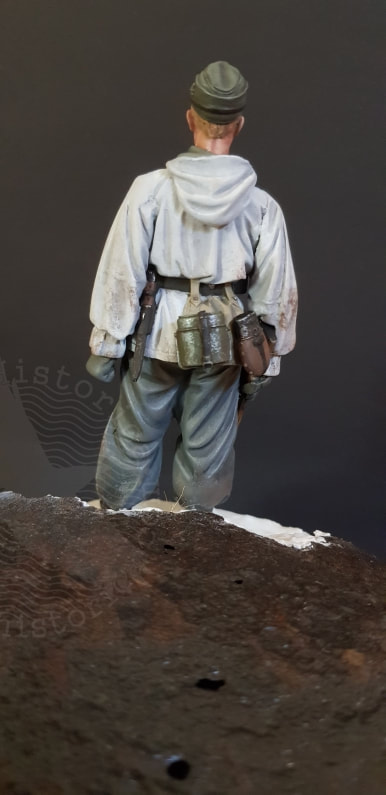
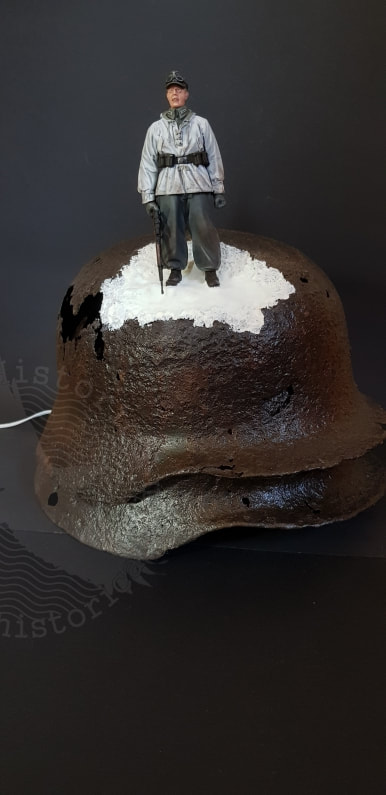
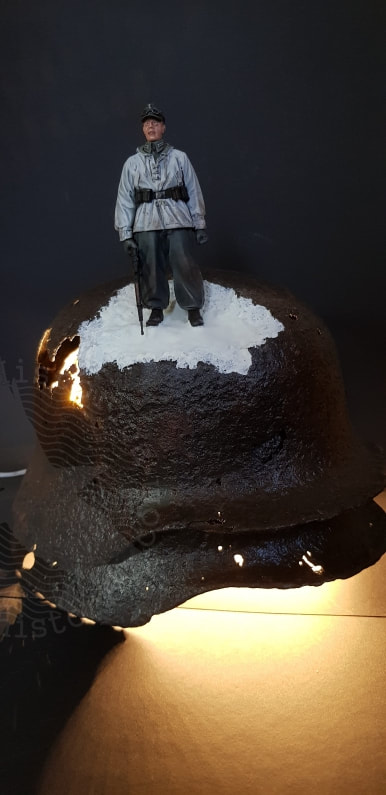
Here is a small two figure vignette I threw together a few weeks ago, "Wacht am Atlantikwall", two soldiers keeping a keen eye on the Northern Norwegian coastline. The figures came from a 1/35 Dragon kit and the base I scratchbuilt from scraps found around the workbench. All painted up with Vallejo Model Colors.
Hope you like it :)
0 Comments
I began building this Tiger many years ago but the diorama idea I had for it back then kinda fell apart. Since then it stood in the shelf, bugging me from time to time and collecting dust. A few days ago I decided enough was enough and brought it out onto the workbench. I also brought from the storage a Tiger vision port block which I ve also had for years and never done anything with except cleaning and preserving it. When I put both these together I had a very nice display all of the sudden, so I found some strong silicone and fixed them together. Now all I need is a place to display it :D
The Tiger model kit came from Dragon and the glass piece was found in Latvia. "Viking". My latest project. It is a 75mm resin figure from DG Artwork. Very nicely casted.I painted it with Vallejo acrylics and mounted it on a rock I found on the beach by the Fjord .
I made these two the last days and completed them this morning. They are Dragon figures in scale 1/35 painted with Vallejo acrylics. I used lids from German detonator boxes and rifle and Mg casings as bases. Hope you like them :)
A friend of mine have a German Soldbuch and a photo of the soldier named Paul Pellens and he wanted a figure representing him. I found a figure from Alpine Miniatures that would fit and went to work. I had to scrape off some details from the very nicely sculpted figure before I could glue it together and splash some paint on it. The tunic and breeches needed to be painted in the Pea pattern camo which is a bit difficult but I am fairly pleased with the result. The figure comes with two optional heads, one with field cap and the other with a helmet. I chose the field cap as I think it looked better for this project. I fixed the completed figure to a wooden plinth and made my Girlfriend ,who is quite skilled , to make the grave marker which I fitted to the front of the base.
Now the workbench is cleared, but that won`t last long coz I have ideas for a few new little scenes:) This exellent 1/16 scale figure comes from Quasar Miniatures and when I saw it I knew I really had to build and paint it. The sculpting and casting is very good so very little clean up was needed. The parts fitted perfectly together with a few tiny gaps only to fill. I painted it using Vallejo Acrylics and weathered it with pigments and washes from Mig. As a base I chose a part from a blown up German helmet which I thought was fitting for this scene and Im quite happy with the result, I hope you like it too:)
I had two relic helmets I didn`t know what to do with until I found this figure in my stash. It is a Verlinden resin figure in scale 1/16 depicting a Gebirgsjäger sniper. The quality of the figure isn`t the best and some of the details are a bit off, i.e the tunic has Heer collar tabs while the cap has Waffen SS insigna. I decided to leave it as is and just paint it up using the two helmets stacked upon eachother as a base. Inside the bottom helmet I added a Led strip so it doubles as a lamp.
Hope you like it :) My friend and colleague Gary Kostka have spent the last few years restoring an old War Machine and the result is amazing. I had a chat with him and here is photos from the project and Gary taking us through the process.
My mum died a few years back, we were very close and she was my rock. It devastated me and my world collapsed. She always spoke about her father working on a ww2 American jeep, so I decided to do a jeep up and name it after my mum, the project would keep me focused and something positive to work towards. In early 2016 I got a 1943 Willys MB jeep from California. It was a U.S Marine Corps radio car used in the Pacific, after the war it was lucky enough to be brought back to USA and sold off by the government. It stayed the rest of its life on a farm until I got it and it came to the U.K in April 2016. I wasted no time in stripping it down. Then the painstaking restoration began, it took just over 3 years. Everything was sandblasted by military vehicle specialists at K-blasting in Paignton Devonshire. They were a great help all through the rebuild! Every item was blasted, primed and painted. Some parts had to be replaced due to how badly they had rotted. Luckily most of the jeep was in good shape so the project soon moved forward! First I started on the chassis, axles, wheels and hubs.This was the best option as it allowed me to roll it around while then doing other items and waiting for the body to be done. Meanwhile the engine was stripped to a bare block, machined and fitted with original new old stock pistons and all new valves, hardened ports to take the modern petrol. After a few months the engine was built. I then had the gearbox rebuilt by a jeep specialist while I rebuilt the original transfer case. Soon the engine, gearbox and transfer case were completed, assembled and put onto the chassis! Then came the test startup! Everything ran sweet so I then had to wait for the body to come back and start on the electrics. I decided to convert all electrics to 12 volt as opposed to the wartime 6 volt, this was to ensure brighter lights ease if I wanted jump starting by any other car. I also installed indicators into the wartime blackout lights to make it suitable for road use as they didn`t have indicators in ww2 and also so that it still looked period and not some nasty add on modern indicators! Now it really started taking shape! After some more items I was down to details like stencils. I am sick of the amount of 101st and 82nd Airborne jeeps so i decided to go with 2nd Armoured Division 82nd recon. And most importantly the windshield got my mums name Eileen added! Soon it was time to register the jeep with the U.K driving and licencing agency. I got all the documents back and now have a fully road legal ww2 us jeep as my new toy!! - Gary Kostka Around New Year Legenda reburied some WW1 Latvian Riflemen and at the same time uncovered a restored memorial at the cemetery. Originally it was a cross made by timbers and when I saw pics of it I knew I had to make it into a miniature. I had a German 77mm shell shrapnel found not far away from the memorial site so it was a natural base to use. I made the cross from some flower sticks which I worked a bit to look like it having bark. I printed out a scaled version of the plaque and fixed it to a piece of plastic which I cut to fit.
I gifted this piece to Vlad, a member of Legenda who has spent a lot of time in the forests around Riga finding lost soldiers from WW1. My latest project completed a mere half hour ago. This time its a War Cemetery in scale 1/35, built inside a German helmet found in the Kurland Kessel. I made the tree from wires, the crosses I carved from balsa foam and the leaf coverage is individually cut from leaves I picked in the garden before the snow came:) Inside the helmet I put a LED strip so it doubles as a cozy lamp :)
|
Archives
April 2024
|