I am always cluttering up the workbench with a new project when I am mid-build on two-three other Projects, so why should this time be any different.. I want to make a little diorama of some diggers this time, I have had a tendency to build auto-biographical dioramas the last years. I haven`t made a final decision on the layout yet and I am still waiting for a few figures to arrive which I ordered for this dio. As a base I might use an old german butterbox which was found on a Kurland battlefield, since I dont have the lid for it I might as well put it to some use. The scene I have in mind is simple enough, two-three diggers in the process of recovering a soldier they have found. Just as I am typing this I`ve had a few other ideas, which might lead to this needing a bigger base than the butterbox,,we will see what happens.
Anyway, the scale will be 1/35 and here is a few pics of what I have gathered for this so far.
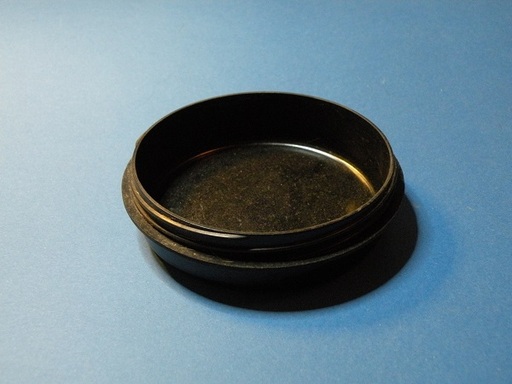
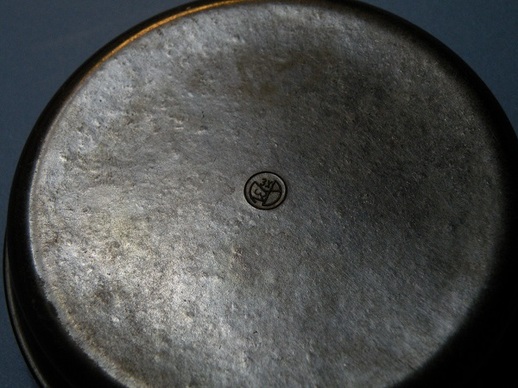
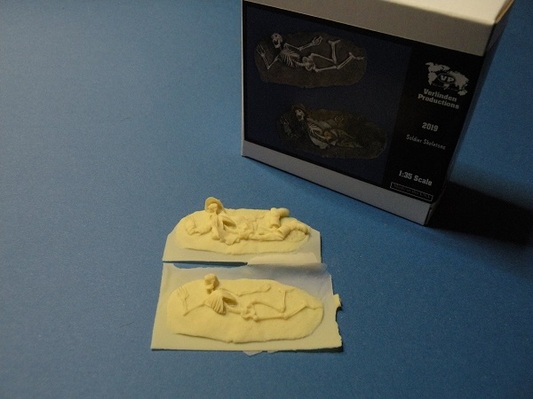
The black bakelite butterbox base.
Anyway, the scale will be 1/35 and here is a few pics of what I have gathered for this so far.
The black bakelite butterbox base.
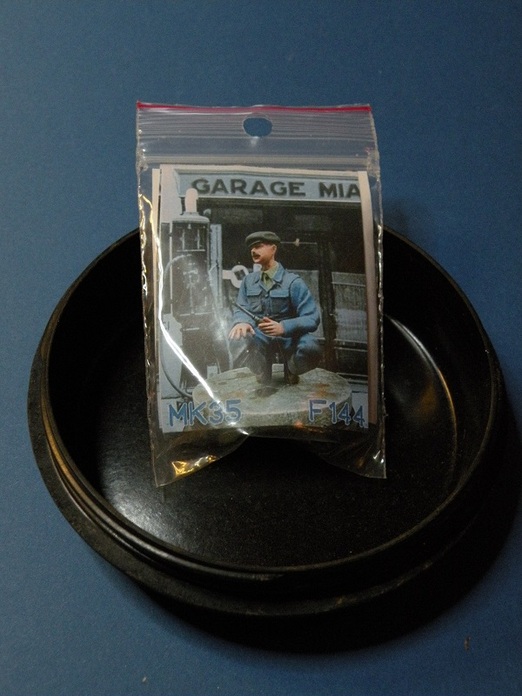
One of the diggers,wearing a overall and sixpence. MK35 Production.
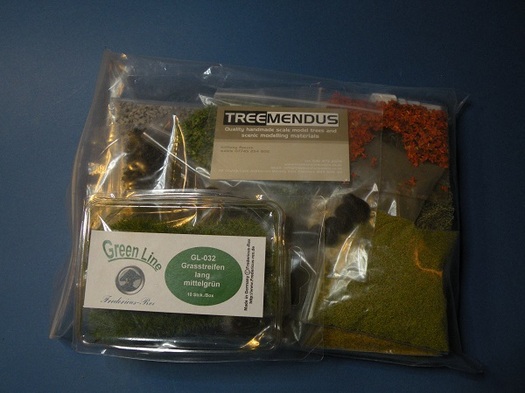
For groundwork and vegetation I`ll use an assortment Treemendus and GreenLine products.
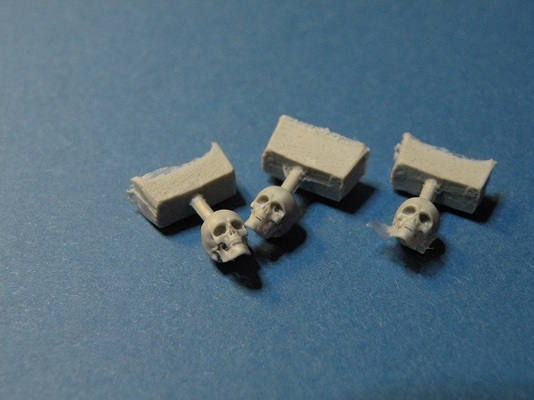
I have also some skulls and skeletons to choose from.
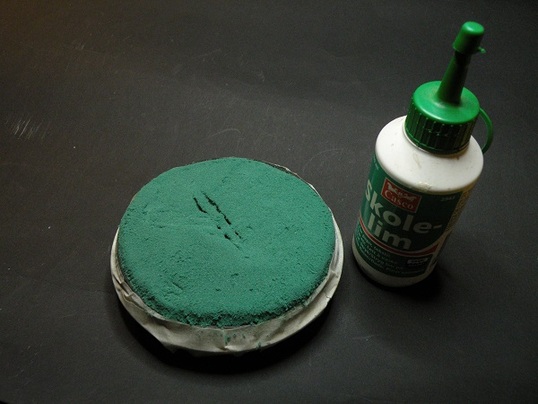
I went to the florist shop and bought some Oasis foam, this stuff is great to use for building up the groundwork in dioramas. I cut a piece I need, and squeeze it into the bakelite jar. I then remove the green foam and superglue some small pegs inside the jar to give some grip to the foam. Next I put some PVA glue inside the jar and over the pegs and squeeze the foam back into the jar. As the foam is very fragile I strenghten it by soaking it in diluted PVA glue, then shape the groundwork as I want it and put it aside to dry. While I wait for it to cure I search the stash boxes for items to use in the dio and start planning the layout.

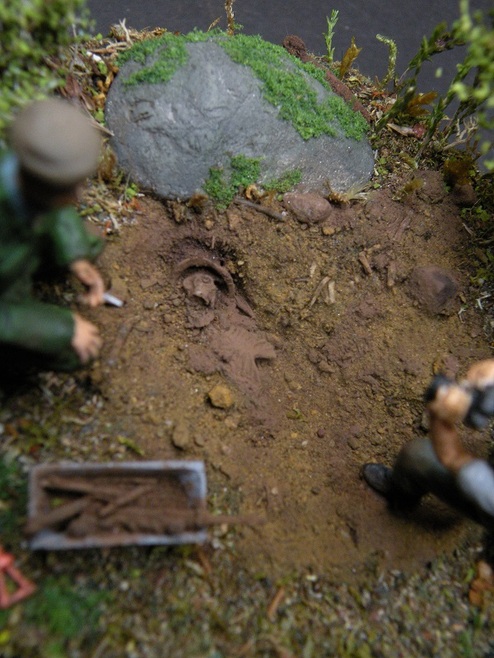
When the green foam has hardened I use epoxy glue to fix the little rock and the skeleton to the base. The rock is painted grey and I am ready to start the groundcover. I make some moss to the rock first, using PVA glue and some green flock often used for miniature train worlds and then I began glue Reality-in-Scales "Forest in a Pot" to the foam base. The sand I used around the skeleton as dug soil is real Kurland sand from the pockets of my digger jacket.
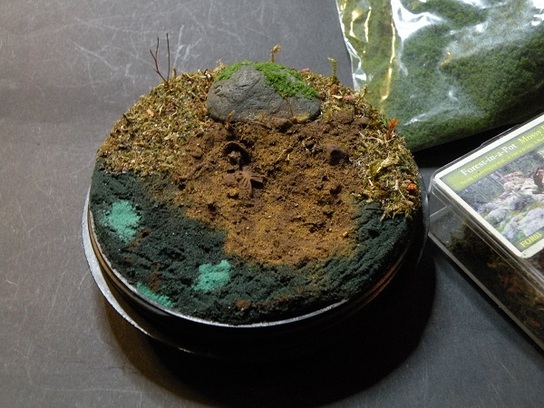
I found some dried old twigs between the flowerpots in the window that I could use as shrubbery. I sprayed the twigs with hairspray, covered them with green scatter from Treemendous and then gave them another coat of hairsparay to seal them up. Five minutes work and I have some nicely smelling bushes to place on the dio.

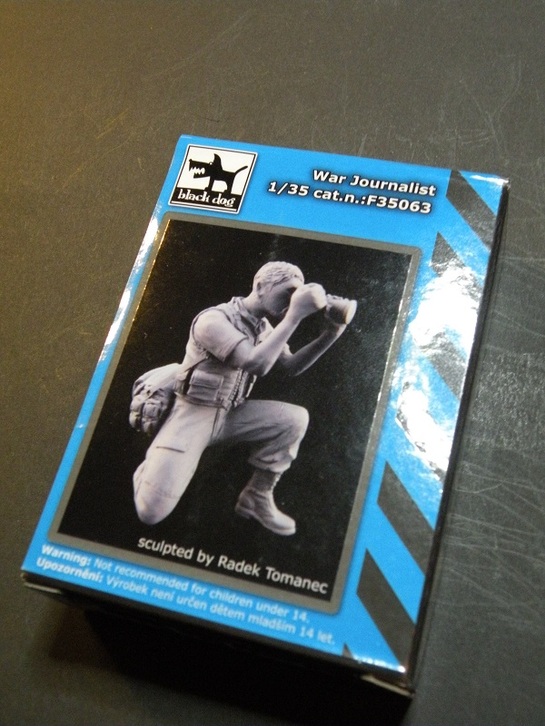
Finally I got the second figure I am planning to use here. A photographer from Blackdog. Now I am going to brew some coffee and start assembling and painting the figures. I will also have to make shovels and a metaldetector.
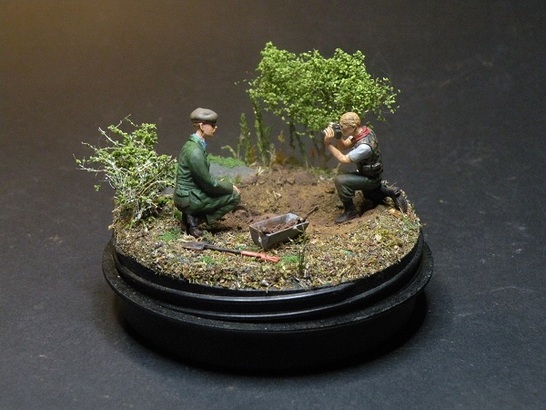
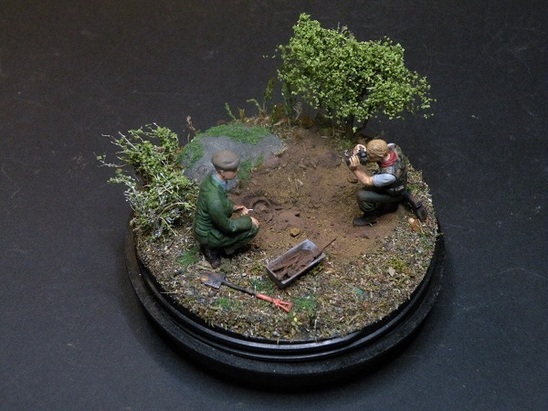
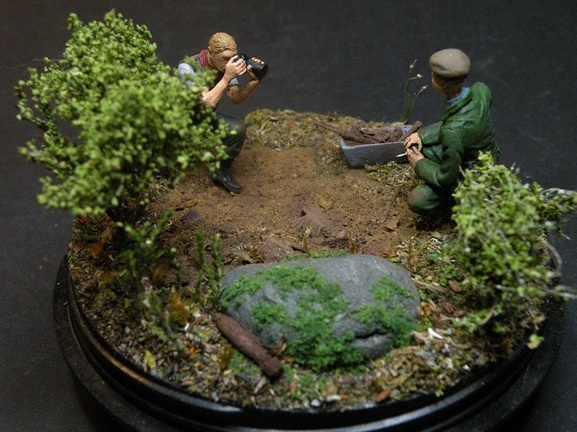
It took a few evenings painting the figures but in the end I had them done and could fix them to the base using epoxy glue. Now I just have to put it in the display cabinet and clean the workbench to start other projects.
 RSS Feed