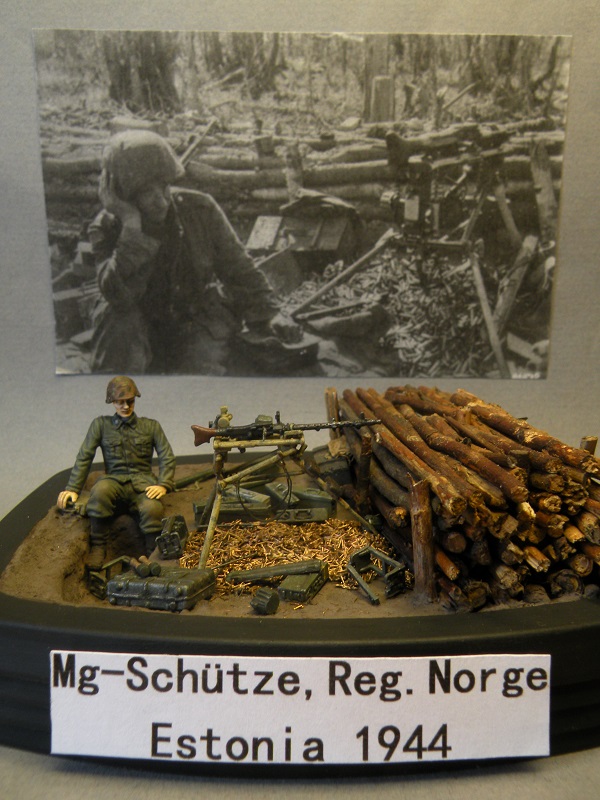
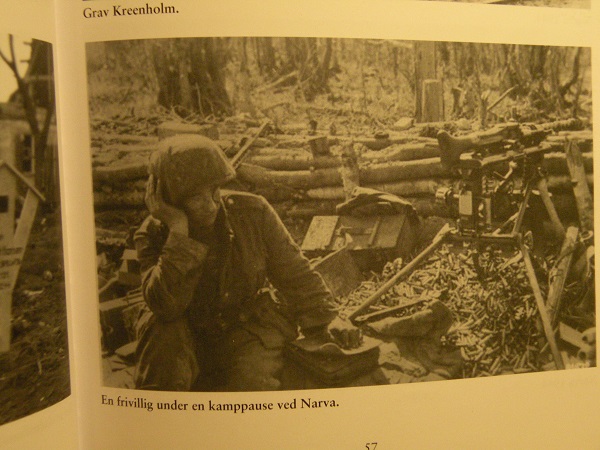
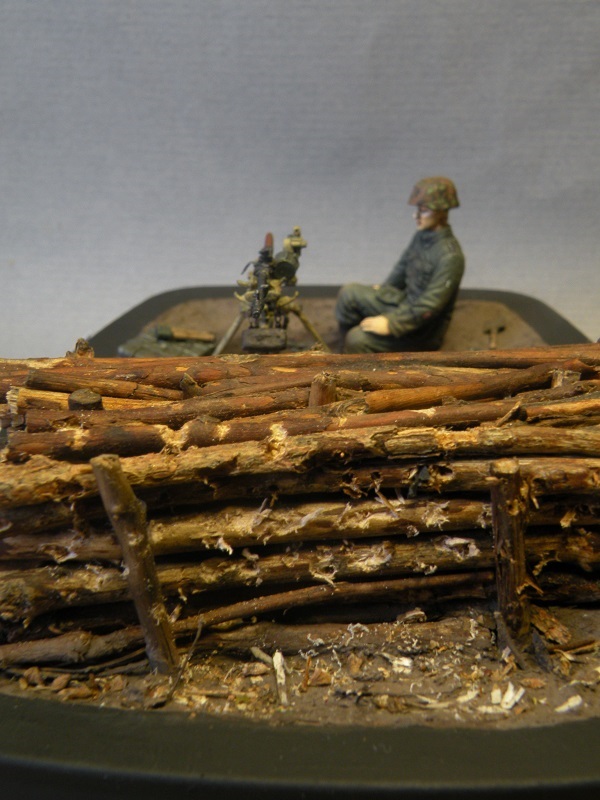
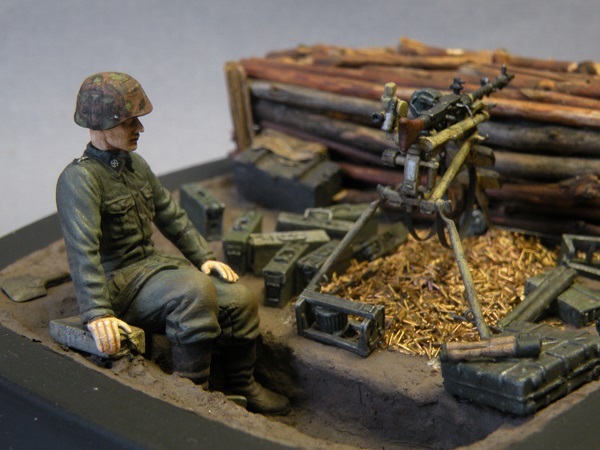
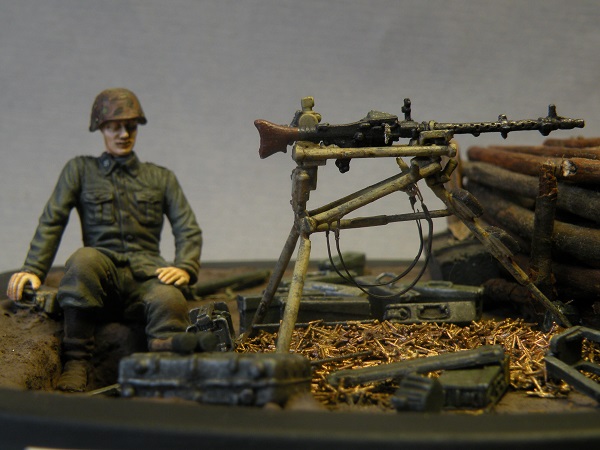
This is a project I wanted to do for many years,and finally I braved up and started it. I saw a photo in W.Tieke`s book "Tragödie um die Treue" and it show a soldier from the Waffen SS sitting in his machinegun position behind a log wall. The mg is mounted on a tripod and it is a large heap of spent ammo shells beneath it. Surrounding the soldier and the tripod is several ammo boxes and spare barrel containers. The text below the photo explains it to be a foreign volunteer fighting on the Narva front in Estonia. South of Narva it is a marshy terrain and impossible to make traditional trenches so the soldiers
built wooden palisades to protect from the enemy. I wouldn`t try to copy the photo 100%,but hoping to get something pretty close to it,in scale 1/35.
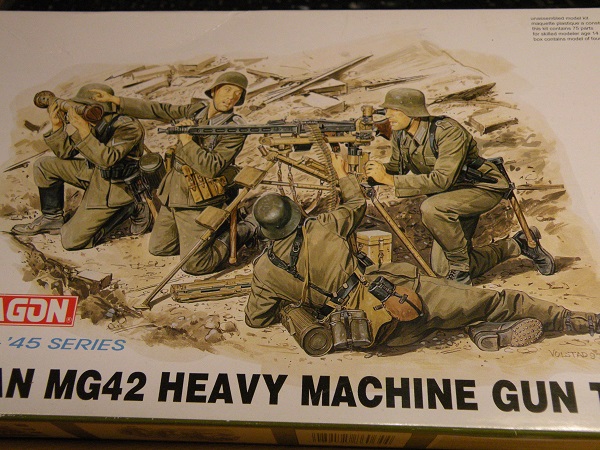
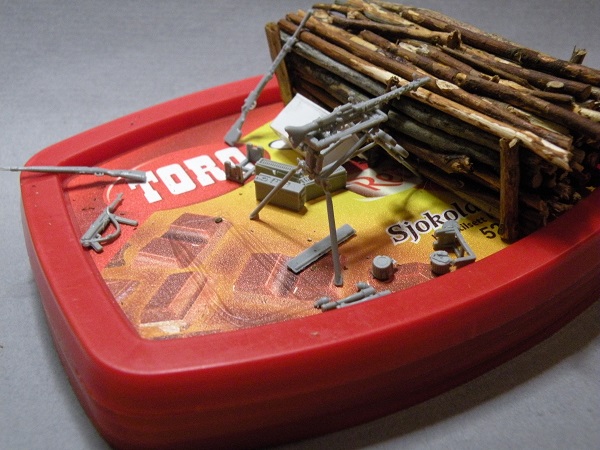
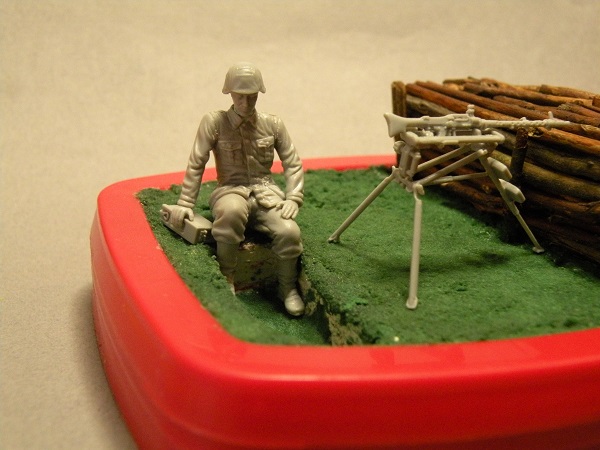
To begin with I went through my spares boxes picking out anything that could be used,which turned out to be the ammo boxes and spare barrel containers. The figure I chose to use came from one of the crew in Dragons Sd.Kfz.7 8t Halftrack kit (6545) and the tripod from Dragons Mg42 Heavy Machine Gun Team. After some speculation on what to use as a base I stacked a few plastic lids from choco-drink boxes,which my ex-girlfriend was hooked on,on top each other and super glued them together. This gave me a perfect sized and shaped base to work with.
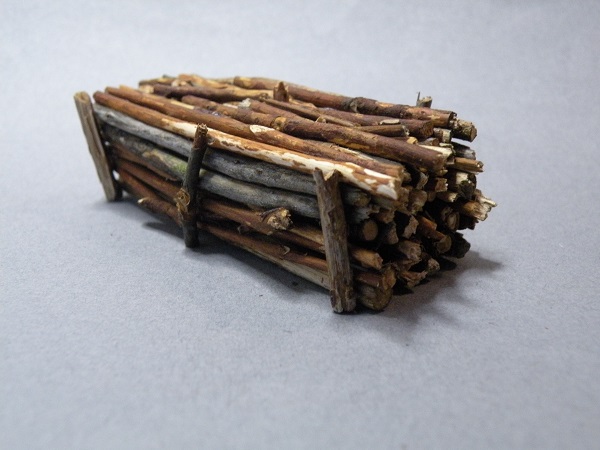
With a new scalpel blade I cut a slit-trench into the base and also cut some lines criss-crossing the plastic lid to help the groundwork stick to it. Next up I smeared a layer of PVA glue on,put a sheet of Oasis foam(florists foam) on top the glue and then poured some thinned PVA over the foam. I let this soak a few minutes before I "stabbed" it in place with the backside of a pencil and then put it aside to cure. In the garden I collected a bunch of twigs I could use for the log protective wall. These were microwaved to get rid of any moist and bugs and then stuck together with some superglue.
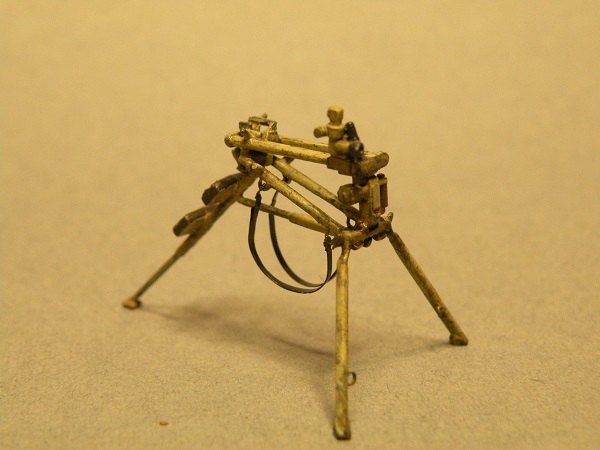
As with the figure there wasn`t a lot of work needed on the tripod either. Being a very fragile piece I had to be careful removing the mould lines. For some extra detail I added some metal loops and carrying slings from an Eduard PE fret. In the background of the photo is a wooden crate so I scratchbuild a similar one from wooden bits.
It is disturbing to look at the old photo and the large pile of spent casings. It really tells a story of horrific fighting and its
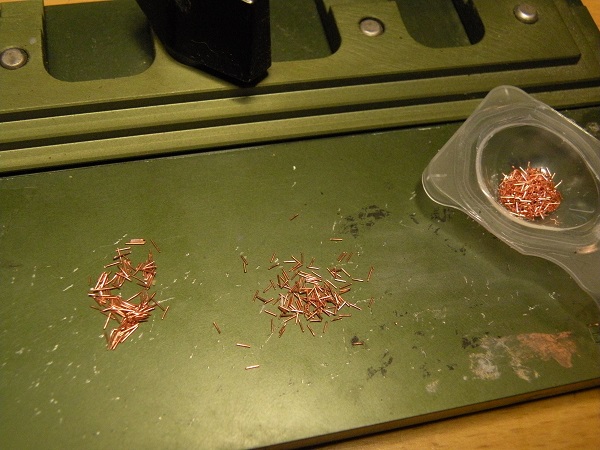
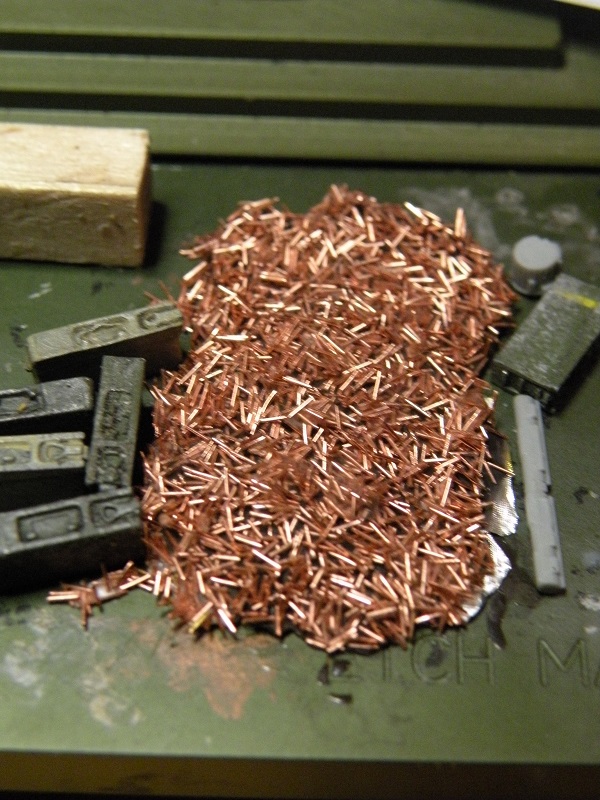
difficult to imagine what the guys at the front had to go through. Spending hours and hours cutting tiny lenghts of wire certainly can`t compare. After searching online for rods or wires with the correct dimensions I found the solution in my model room. I stripped the isolation of an old wall lamp and the wires inside had the perfect dimension,and as said,many evenings I did nothing but cutting tiny lenghts until I had enough. I made the main body of the pile from cigarette paper and PVA glue which I started to cover with the ammo casings. From brass rod I cut some spare barrels and added it to the pile.
and on the lower left arm the norwegian national shield and "Norge" arm stripe showing it to be a volunteer in 23.regiment
Norge/11.Divison Nordland. I paint all the buttons black and give them a metal sheen with a graphite pencil. Before I start painting the flesh I give the figure a dark pin wash to all the seams and around the buttons.
A 1:1 mix of sunny skintone (845) and Basic skintone (815) made a good basecolor for the face and hands. Adding a few drops of white,and thinning the mix with water gave a lighter color and was glazed on as a highlight. Still using the same mix I added 2-3 drops of Flat Brown (984) and a drop Vermillion Red (909) to get a color I could use for the lips. Last I added a few drops purple and thinned it some more to add around the eyes and on the eyelids. I did this to try to give him the tired "been awake too many hours" look. To complete the skin painting I added shadows by giving the parts several brown washes
using Sin Filters.
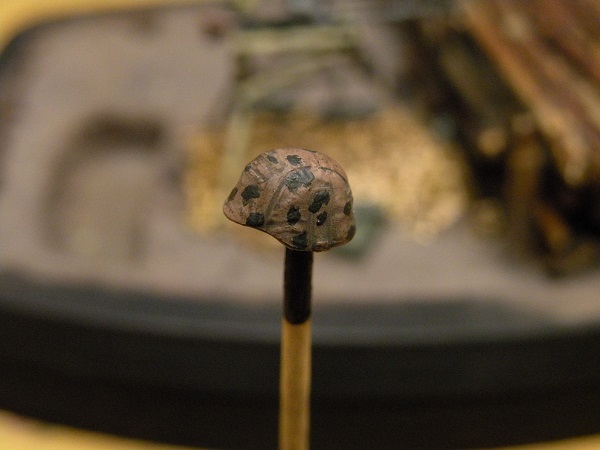
Painting ss camo is always a challenge,so I wanted a simple pattern and found a reference pic to work from. I mixed a basecolor from Vallejos German Camo Pale Brown (825) and Flat Brown (984) in a 6+1 drop ratio. This dried quickly and I enhanced the seam lines with a dark wash. I followed up by adding some blotches of a dark green (military green 975 + black 950: 2+1) and then some blotches of a medium green (military green 975). The last color is a light green which I try to place inside the medium green blotches leaving a fine outline of the medium green. (Light green: sunny skintone845 + ss cam
bright green 833 + military Green 975 : 2+3+1).
Now the colors look very sharp and bright,but is quickly toned down with a dark wash followed by some light dusting with pigments.
brush and Sandgrau(ua202) and vallejos Germ cam Black Brown (822) and a little graphite here and there to complete it.
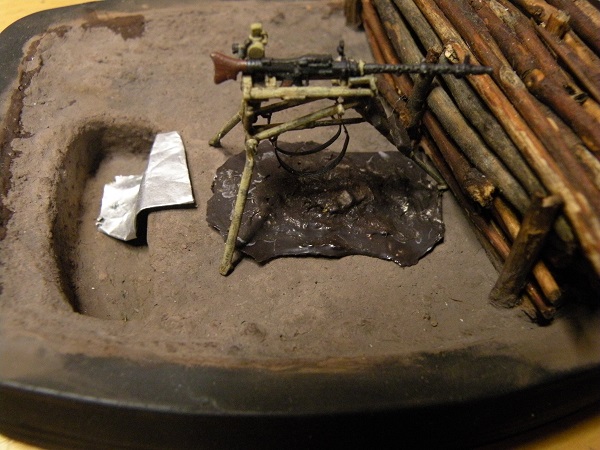
I painted the mg42 by base coloring it with Andrea Color 2nd Shadow from the Black Paint set,followed by rubbing grafite powder to the metal parts. Rotbraun (ua205) was a suiting color for the stock and grip and I gave the whole thing a few dark washes with filters from Mig. Before I could tackle the ammo pile I made a brown mix from Mig pigments and water and painted the groundwork. This stuff dried pretty fast so I went over the spent ammo with some Humrol enamel #16 and
Vallejos Brass (801),keeping the pile from looking to monotone. As this cured it was still very shiny so I toned it down by brushing on a thin layer Humbrol Matt #49 and a few dark washes.
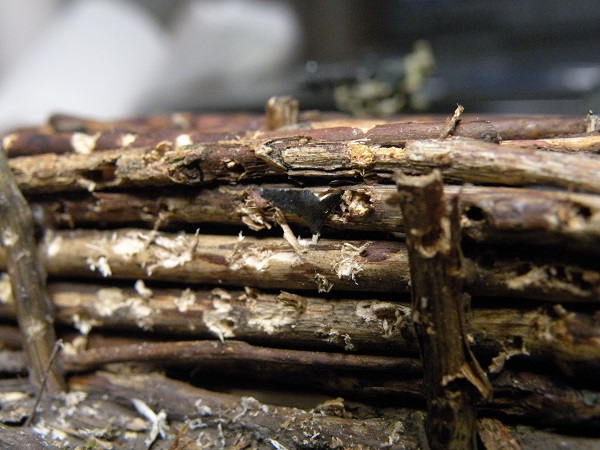
As a last step I took a drill and went to work on the "enemy" side of the log wall. I wanted it to look battle ridden and also added a chunk of shrapnel which I made from torn up lead foil. Before i tidied up the black frame I gave the logs and groundwork a dark brown wash to blend it all together.
I brought this diorama and another one with me to Estonia and donated them to the museum in Sinimäed.
Happy modelling fellow geeks.
 RSS Feed